
Imbolg is an ancient and somewhat forgotten holiday that falls on 1 February, midway between the winter solstice and the vernal equinox. This time of year, winter food stores are dwindling and the growing season is still far away; and even then, planting seeds does not yield food quickly. However, livestock are an immediate food source in times of scarcity. By Imbolg, short-day breeders like sheep are lactating. So Imbolg is the point in the winter when there is a fresh stream of food after many months of dwindling harvest stores. Imbolg is usually interpreted as “in the belly”, referring specifically to pregnant ewes and generally to the Earth’s quickening with the new life of spring. An alternative name for the holiday is Oilmelc, which commonly translates to “ewe’s milk”.
There are many holidays celebrated in February that point to the coming spring. Imbolg is derived from the climate and culture of the British Islands, specifically Ireland — which has unique conditions. For most of the Northern Hemisphere, the growing season is still distant at the beginning of February, even for pasture grass. However, Imbolg is a critical inflection point in the year for pastoralists in Ireland. Animals can be put to pasture soon after Imbolg and no longer require stored feed.
How is winter pasturage possible in Ireland? Temperature is the limiting factor on grass growth. Ideal growth conditions coincide closely with an air temperature between 40°F and 50°F. Below this, there is no growth at all; any further rise in temperature has little effect. Ireland remains in this ideal temperature range for pasture growth nearly year round in spite of its high latitude because the warm North Atlantic Drift creates warm ocean conditions that bathe the island. This maritime moderation of temperature is strongest near the Atlantic coasts. Over most of Ireland the growing season starts in early March, and with sufficient moisture, grass grows almost continuously until mid-December. The longest growing season is found in a narrow strip on the south and southwest coasts of Munster, where it is usually only in the month of January that grass stops growing altogether.

A further tie between this time of year and the Irish pastoral cycle is seen in the life of Saint Brigid, once and future Goddess of Ireland, whose feast day is also celebrated on 1 February (not a coincidence). Brigid’s main familiar is a white cow, and many of her miracle tales feature milk. (Incidentally, the Irish believed cow’s milk had spiritual as well as physical nourishing qualities; the Irish used it for baptism into the 12th century.) As a goddess in the Celtic pantheon, Brigid is sometimes the daughter of Boann, goddess of the River Boyne — which means “white cow” or “she of the white cattle”.
As a child, a slave in the house of a Leinster pagan chieftain (and also his daughter), Saint Brigid was pious and generous and decidedly earthy. Ordered to churn butter by her master, she gave most of it away to the poor. When scolded for this, she prayed to heaven and the churn overflowed with butter. Her master was so astonished that he immediately converted to Christianity and freed Brigid and her mother. In another tale, an unexpected delegation of dignitaries in a time of dearth flustered Brigid’s father’s household. Brigid saved the day. She milked her cows three times that day and each milking produced three times the normal amount of milk — until her pails overflowed over Leinster, creating the Lake of Milk.
In anticipation of Imbolg, we’re going to make yogurt, a fermented dairy product that extends the shelf life of fresh milk — and adds quite a bit of nutrition and delicious flavor.
The timing of Imbolg is determined by the breeding schedule of sheep, so technically the milk of Imbolg ought to be sheep’s milk. Maybe feta is more appropriate to the date. But in my part of the world there are many good dairies, and they do primarily cow’s milk. Plus Brigid is associated with cows. So cow’s milk what we’re going to use today.

I use Tully Farms Dairy milk. They have happy cows that don’t get high doses of antibiotics to stay healthy. This is critical to fermenting milk into yogurt because the fermenting microbes — the bacteria streptococcus thermophilus and lactobacillus bulgaricus — will be killed by milk from heavily inoculated cows, which unfortunately is what you get from most large dairies today (yes, even those that are certified organic).
Making yogurt is a simple process. Most of the work is in the cleaning — as is true for most food preservation. The fermentation jar should be cleaned and sterilized. We want ONLY those special yogurt-producing bacteria; biological diversity is not good in this case.
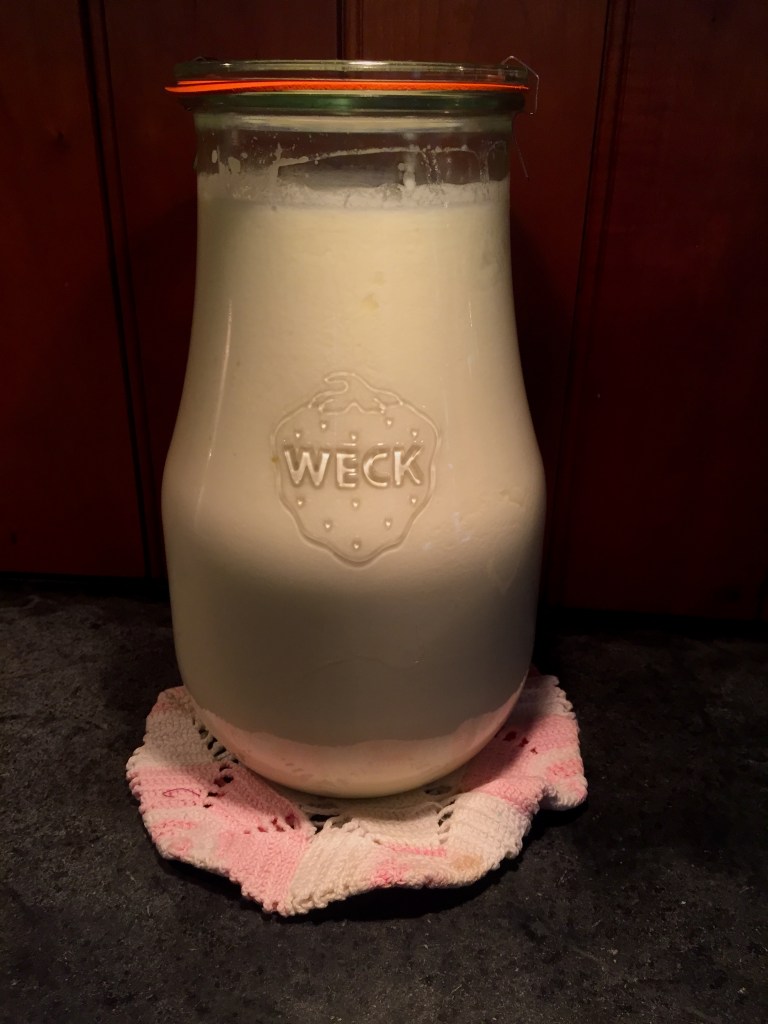
I usually make a half gallon of yogurt at least once a week, so I have two Weck’s half-gallon canning jars. My somewhat lazy sterilizing technique is to wash the jar and lid parts thoroughly and place the jar (not the lid) into a cool oven. Then I heat the oven to 250° and leave the jar in there until it’s time to fill it up. (I also put my thermal mass — crock-lid weights — in the cool oven to warm up with the jar.)
The recipe is simple. To make a half-gallon of plain yogurt, pour a half-gallon of whole milk and a pint of heavy cream in a heavy-bottomed saucepan. If you want to reduce calories, you can use low-fat milk and omit the cream, but the fats do improve the texture of the ferment.
This process is another one of those circular things; it presupposes a starter culture. So if you’re doing this for the first time, you need to get good yogurt from the store first. You need 1 cup of a plain yogurt that you like to eat. The flavor reflects the balance of microbes in the yogurt; the yogurt you make will taste like the yogurt you use as a starter.
Scoop your starter into a medium sized bowl, and let it come to room temperature while you cook the milk. You want to have happy critters — shocking them by adding warm milk to fridge cold yogurt will not make for happy critters.
Begin heating the milk and cream over medium-high heat. You need to warm it to over 190°F and keep it there for 20 minutes without boiling it. (Boiling it denatures the milk proteins and makes for nastiness.) I usually peg it to 205°, about as high as it can go without starting to boil. This heating process is, once again, reducing the biodiversity in your milk. The milk will have been pasteurized (unless, lucky you, you have access to raw milk!), but it still needs this extra cooking to kill off anything else that creeps in after pasteurization.

Now, this is the hardest part of making yogurt. You have to stir it — The Entire Time — that is, while it is coming to temperature and then the full twenty minutes to pasteurize it. For me, standing still in one place with nothing going on but a stirring stick is agony. I’ve tried various things to make the time pass and to keep my varicose veins from killing me. I read sometimes. But mostly I dance. This week the dance track was provided by Vintage Culture Live from São Paolo. (Didn’t expect that, did you? I am an eclectic after all…)
When the twenty minute timer goes off, you need to cool the milk to below 120° (the max temperature tolerance for the microbes) and then keep it above 115° for the bacteria to be active. So you need to act quickly. Get the warm jar out of the oven and put it near the bowl of starter. When the cooked milk is below 120°, gently stir 1 cup of the milk into the yogurt starter culture until the mix resembles thick cream. Then add this mix to the rest of the milk, gently stir it together, and then pour it into the warm jar. (“Gently” because the microbes don’t like to be jostled. This is sort of critical for the next bit.) Wipe the jar’s rim and exterior and close it.
This is where the fermentation begins. For fermentation to work, two things are important: 1) The temperature needs to stay between 115°F and 120°F and 2) the culture needs to remain undisturbed — for at least 6 hours. So you need to find some way to keep it in one place and hold it in this narrow temperature range that unfortunately is below the minimum temperature of most ovens. (Though if you have an oven with a proofer setting, that might work.)
There are many strategies for accomplishing this. There are actual yogurt machines, but I dislike specialty tools since they only do one thing and take up space — usually a lot of space. Anyway, some people put their jars in a crock pot on the lowest setting. I don’t have a jar that fits in my crock pot. You can also wrap your jar in a blanket and put it on a heating vent. I sort of split the difference on these two methods. I wrap the jar in a warm towel and put it into a large, slightly warmed pickling crock.
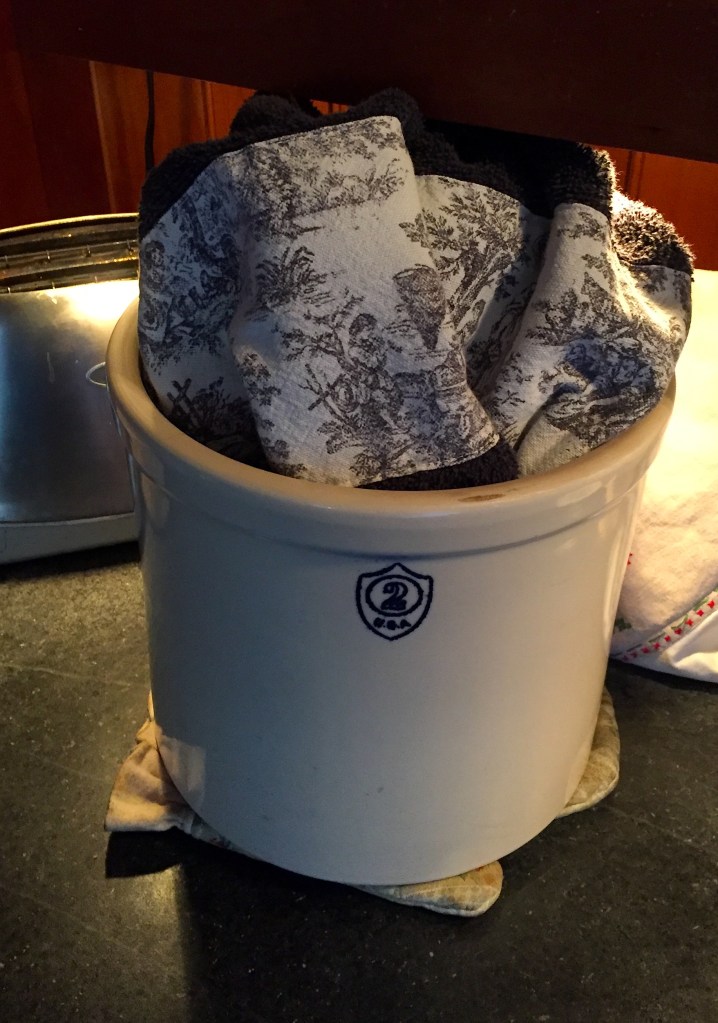
And here you see why I mentioned the crock lid weights above. These make ideal thermal mass. I heat them to 250° with the jar, and I don’t let them cool much before placing them in the bottom of the crock. Being super cautious about mixing hot and cold crockery and to add extra insulation, I use hot pads between everything in the crock. Then I put the towel-wrapped jar into the crock on top of the weights. This whole business goes somewhere that will stay warmish. When the wood stove is burning, that room is ideal — warm and out of the way.
The yogurt will need to ferment at least 6 hours. For a firmer texture and sharper flavor it can go as long as 12 hours — if you can keep it at temp that long. I find about seven hours is ideal for my tastes. I usually put a sticky note somewhere prominent to remind myself to put the yogurt into the fridge. (Yes, I have forgotten… once… not pretty, that…)
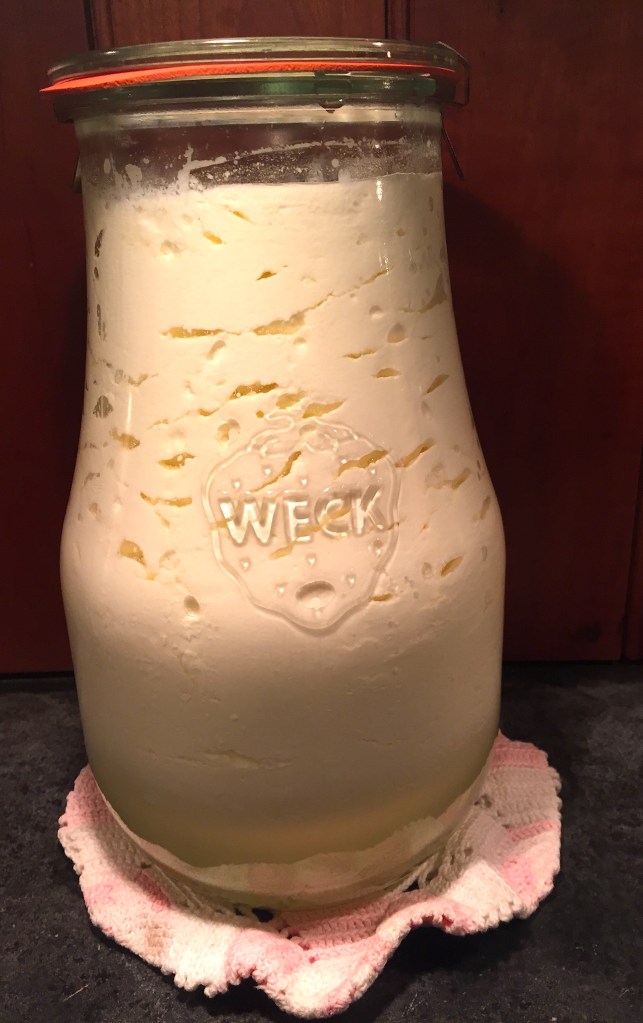
The fermentation will not be done at this point. It needs to continue to ferment slowly, at colder temperature, for another 12-18 hours. The total fermentation time should be about 24 hours. It will look done when you put it in the fridge; it won’t taste all that great.
So the next day you will have yogurt. Now, if you intend to keep your yogurt going, scoop one cup of yogurt from the top of the jar and put it in the fridge for starting the next batch. You should eat your yogurt within a week or so, but the fresher your milk source the longer it can be in the fridge.
Then… Enjoy!
© Elizabeth Anker 2021


[…] I used a quart of veg stock, two cups of yogurt and one cup of my farmer cheese (sort of cottage, sort of ricotta, not a lot of strong flavor). I […]
LikeLike
[…] tbs bourbon ~1 tsp cinnamon (to taste) 4 eggs 1/2 cup canola oil (or other fat, see below) 2 cups plain yogurt 1-2 tbs rice vinegar ~ 2 cups milk to fill (see […]
LikeLike